How to Convert Any Photo into a 3D Model with AI in 2026
A complete, step-by-step guide to transforming ordinary photographs into production-ready 3D models — no 3D modeling skills required.
Creating 3D models has traditionally required specialized software, years of training, and hours of manual work per asset. A single production-quality 3D model can take a skilled artist anywhere from 4 to 40 hours to build from scratch.
AI has fundamentally changed this equation. Today, you can convert any photograph into a production-ready 3D model in under 10 minutes — complete with accurate geometry and PBR textures. This guide walks you through exactly how it works.
The 4-Step Workflow
The entire photo-to-3D process can be broken down into four simple stages. Each step is fully automated — you just upload, select, and export.
Upload
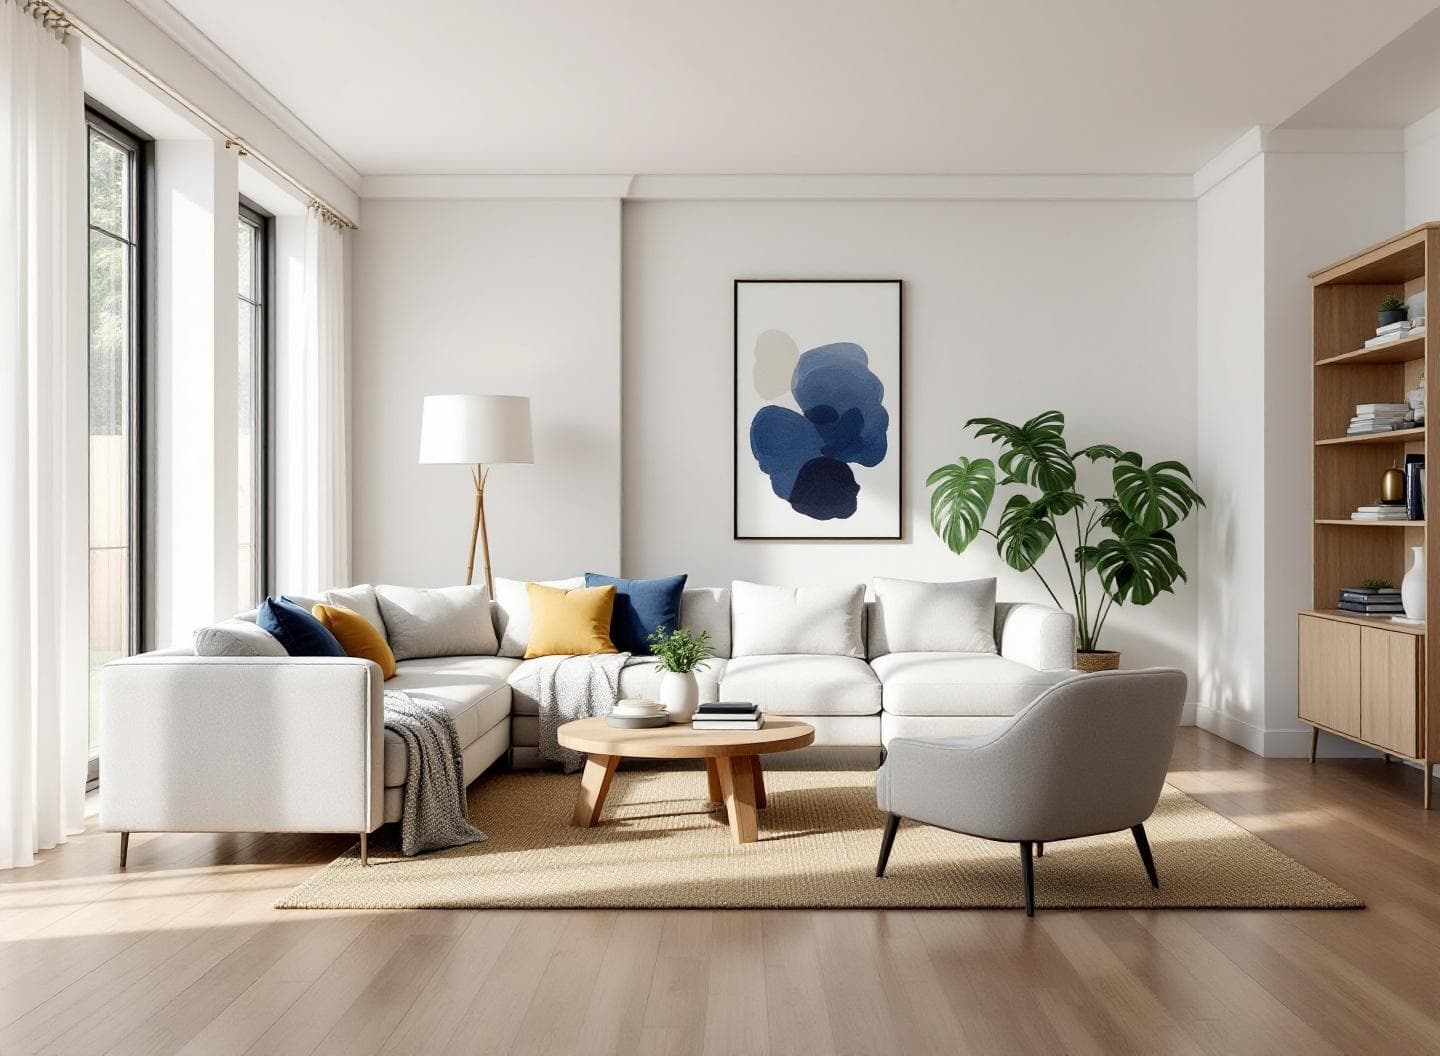
Drop any photo — rooms, products, or outdoor scenes.
Detect
AI identifies and names every object automatically.
Extract
Select objects. AI isolates them with full geometry.
Generate
Production-ready 3D model with PBR textures.
Step 1: Upload Your Photo
Start by uploading any photograph to the DOIT3D dashboard. The platform accepts JPEG, PNG, and WebP formats up to 20 MB. For the best results, use photos that are at least 1024 pixels wide with clear, even lighting.
Photo requirements
- Minimum resolution: 1024 x 1024 pixels
- Formats: JPEG, PNG, or WebP
- Maximum file size: 20 MB
- Clear lighting with minimal shadows preferred
- Objects should be at least partially visible
Step 2: AI Object Detection
Once uploaded, the AI automatically scans the entire image and identifies every distinct object. Each detected object is given a spatial name based on its position and type — for example, “Left Armchair” or “Center Coffee Table.”
The detection system understands spatial relationships between objects. It can identify items that are partially hidden behind furniture, walls, or other objects. A typical room photo yields anywhere from 5 to 30+ detections.

AI detection identifies and labels every object in the scene, including partially hidden items.
Step 3: Smart Object Isolation
After detection, select the objects you want to convert into 3D. The AI automatically handles the rest — isolating each object cleanly, even when other items are partially blocking it.
Unlike basic background removal tools that simply cut out visible pixels, DOIT3D's extraction engine understands the full shape of each object. If a table leg is hidden behind a rug, or half a chair is behind a wall, the AI intelligently fills in what's missing so the resulting 3D model is complete — not just a partial shell.
The final extracted image is production-ready and optimized for 3D generation, giving the next step the cleanest possible input for accurate mesh creation.
Step 4: 3D Model Generation
The isolated object is transformed into a complete 3D mesh with textures. You can choose from four quality tiers depending on your use case and budget.
The output is a GLB file — the universal standard for 3D models — which includes geometry, materials, and textures in a single file. This can be directly imported into any major 3D application including Blender, Unity, Unreal Engine, and Three.js.
Quality Tiers Explained
Different projects have different requirements. A quick concept preview doesn't need the same fidelity as a hero asset for a AAA game. DOIT3D offers three quality tiers to match your needs.
Draft
Fast generation for rapid iteration. Captures overall shape and proportions but without fine surface detail.
Polygons
50K polygons
Time
~30 seconds
Cost
50 credits
Best for: Quick previews, concept validation, moodboards
Standard
Good balance of quality and speed. Suitable for most non-production use cases where visual quality matters.
Polygons
200K polygons
Time
~2 minutes
Cost
150 credits
Best for: Presentations, client reviews, web 3D viewers
Production
PopularFull PBR material set with detailed geometry and auto-optimized quad topology + clean UVs on every download. Optimized for game engines and real-time rendering pipelines.
Polygons
500K polygons
Time
~5 minutes
Cost
250 credits
Best for: Game assets, AR/VR, real-time applications
Best Practices for Better Results
While the AI handles most of the complexity, following these guidelines will help you get consistently better results.
Use Natural Lighting
Even, diffused lighting produces the best results. Avoid harsh shadows or extreme backlighting that obscures object shapes.
Shoot at Eye Level
Photos taken at roughly eye level provide the most natural perspective for 3D reconstruction. Avoid extreme top-down or bottom-up angles.
Include Full Objects
While the AI can reconstruct partially hidden objects, you'll get better results when more of the object is visible in frame.
Avoid Heavy Filters
Post-processing filters, HDR effects, and color grading can confuse the AI. Use photos as close to natural as possible.
Higher Resolution = Better Detail
While 1024px minimum works, higher resolution photos (2K-4K) provide more detail for the AI to work with, resulting in more accurate textures.
Start with Draft
Use Draft tier first to verify the 3D model looks correct, then regenerate at Production quality for your final asset.
Use Cases
Photo-to-3D AI technology has applications across every industry that works with 3D content.
Architecture & Interior Design
Convert photos of existing spaces into 3D models for renovation planning, virtual staging, and client presentations. Generate 3D furniture assets from catalog photos instead of modeling each piece manually.
Game Development
Rapidly create 3D assets from reference photos for prototyping levels and environments. Use Production-tier models directly in game engines with PBR materials ready for real-time rendering.
E-Commerce
Generate 3D product models from existing product photography for AR try-on experiences, interactive 3D viewers, and virtual showrooms — without the cost of traditional 3D product photography.
Film & VFX
Create high-fidelity reference models from set photos for pre-visualization. Generate Production-tier models with auto-optimized topology for use as digital doubles of real-world props and set pieces.
Education & Research
Build 3D models of real-world objects for interactive educational content, museum digitization projects, and scientific visualization.
AI vs Traditional 3D Modeling
| Factor | DOIT3D (AI) | Manual Modeling |
|---|---|---|
| Time per model | 30s – 8 min | 4 – 40 hours |
| Skill required | None | 3+ years training |
| Cost per model | $0.10 – $0.50 | $50 – $500+ |
| Input needed | 1 photo | Reference + blueprints |
| PBR textures | Auto-generated | Manual creation |
| Hidden geometry | AI-reconstructed | Manual guesswork |
| Software needed | Web browser | Blender/Maya/3ds Max |
Frequently Asked Questions
What types of photos work best for 3D conversion?
How accurate are the generated 3D models?
Can I use the 3D models commercially?
What file formats are supported for export?
How is this different from photogrammetry?
Do I need a powerful computer to use DOIT3D?
What happens to my photos after processing?
How many objects can I extract from a single photo?
Ready to try it yourself?
Start with 5 free generations. No credit card required. Upload your first photo and see the results in under a minute.